
Kids Mode
This will turn off kids mode. Are you age 13 or older?
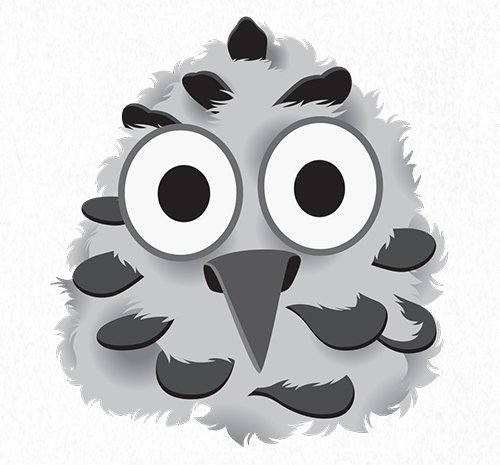
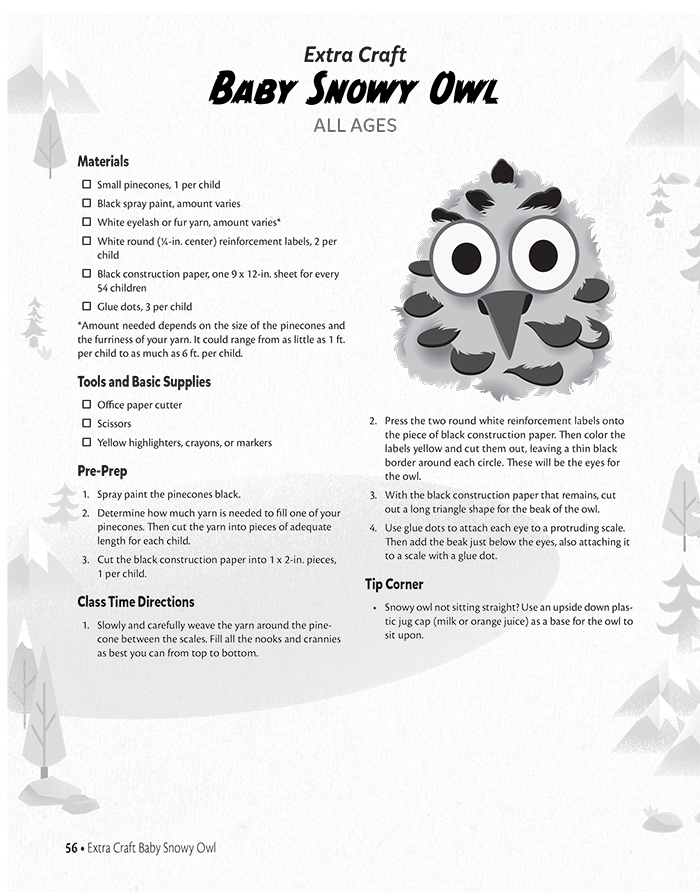
Baby Snowy Owl
on December 1, 2017Materials
- Small pinecones, 1 per child
- Black spray paint, amount varies
- White eyelash or fur yarn, amount varies*
- White round (1/4-in. center) reinforcement labels, 2 per child
- Black construction paper, one 9 x 12-in. sheet for every 54 children
- Glue dots, 3 per child
*Amount needed depends on the size of the pinecones and the furriness of your yarn. It could range from as little as 1 ft. per child to as much as 6 ft. per child.
Tools and Basic Supplies
- Office paper cutter
- Scissors
- Yellow highlighters, crayons, or markers
Pre-Prep
- Spray paint the pinecones black.
- Determine how much yarn is needed to fill one of your pinecones. Then cut the yarn into pieces of adequate length for each child.
- Cut the black construction paper into 1 x 2-in. pieces, 1 per child.
Class Time Directions
- Slowly and carefully weave the yarn around the pinecone between the scales. Fill all the nooks and crannies as best you can from top to bottom.
- Press the two round white reinforcement labels onto the piece of black construction paper. Then color the labels yellow and cut them out, leaving a thin black border around each circle. These will be the eyes for the owl.
- With the black construction paper that remains, cut out a long triangle shape for the beak of the owl.
- Use glue dots to attach each eye to a protruding scale. Then add the beak just below the eyes, also attaching it to a scale with a glue dot.
Tip Corner
- Snowy owl not sitting straight? Use an upside down plastic jug cap (milk or orange juice) as a base for the owl to sit upon.
 Download PDF
- © 2024 Answers in Genesis
- Privacy Policy
- Contact
- About