
Six-Step Guide to a Virtual Classroom
Printed lesson materials work great in person, but sometimes you want to reach your students outside the physical classroom. Fortunately, there are great tools available to help you accomplish this.
1. Set up ABC Digital access
ABC Digital is the easiest way to manage church Bible lessons in our current environment. And it’s now available to more people than ever! If you don’t already have access, sign up using the button below. It will guide you through the steps to set up your first classroom on MyAnswers.com.
You’re just a few easy steps away from having your lessons at your fingertips on any internet-connected device. MyAnswers even sends you an email linking to the lesson you’re on each week!
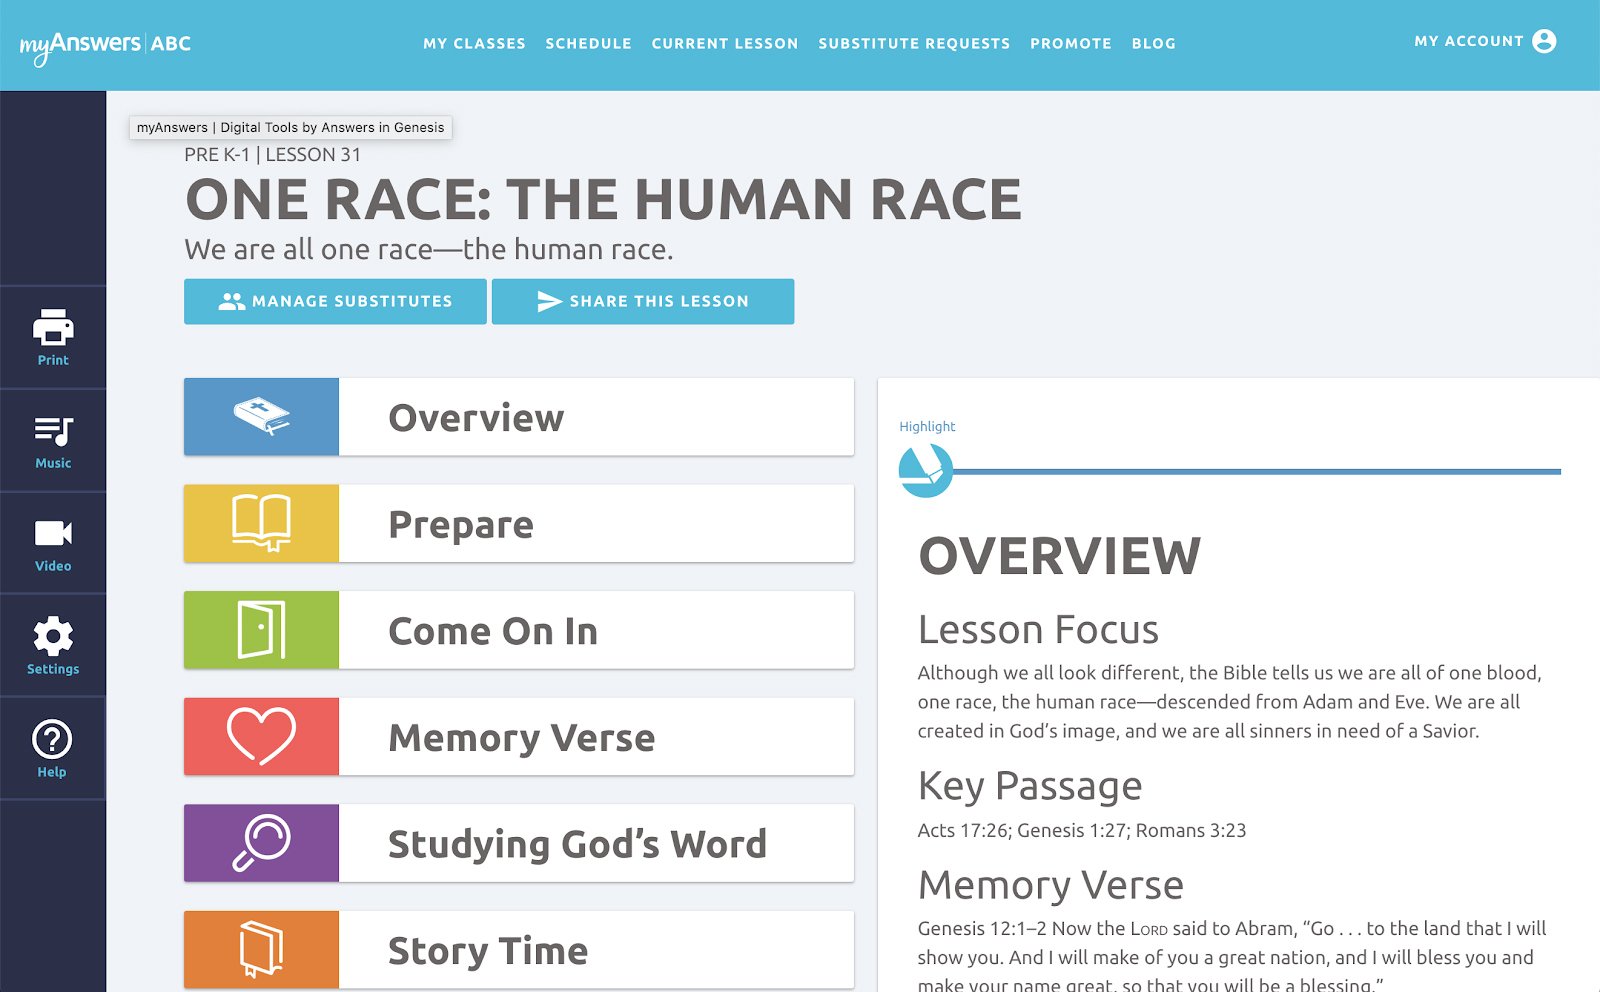
2. Open your digital lesson
Once you have your classroom, click or tap on “View Lessons” and then select your current lesson for the week. This will show you the whole lesson, along with all the additional resources. The student handouts, videos, music, and everything you need is on a single screen. This works best when you have your computer viewing your digital lesson and your phone ready to do the live video.
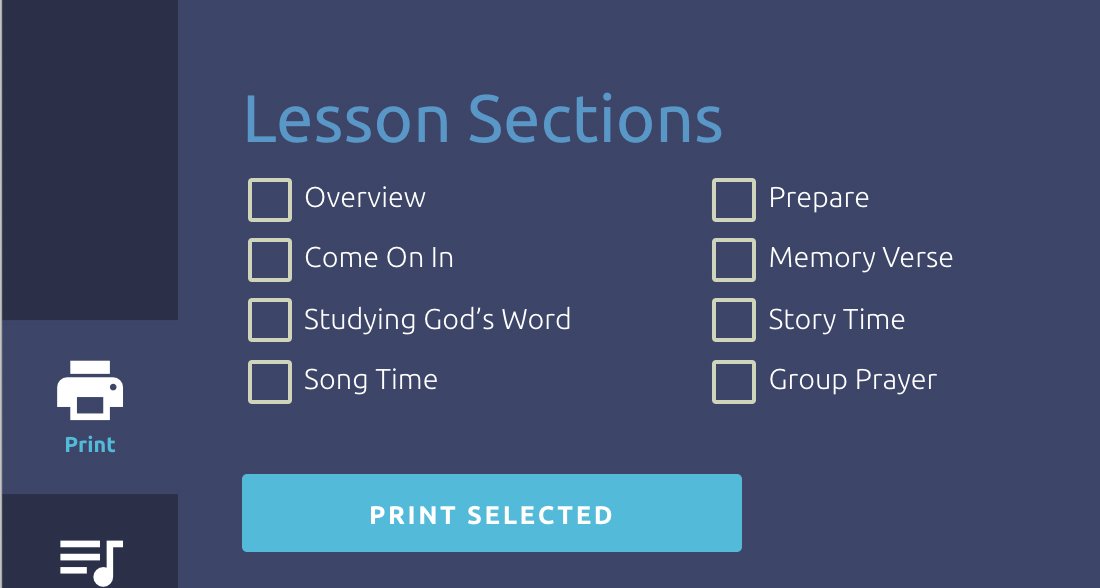
3. Print your lesson materials
You may want to have a printed copy of some materials so you can hold them up for your live video viewers to see. You can use these to explain how they can follow along at home. Simply use the print icon on the left side of the lesson and print the items you want to show your students.
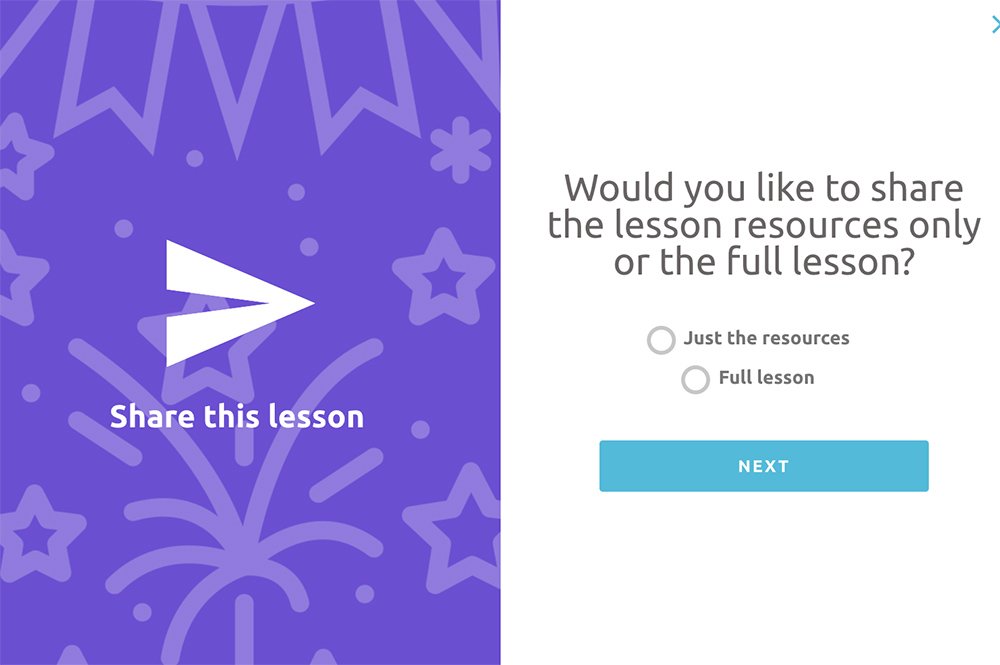
4. Get your lesson share link
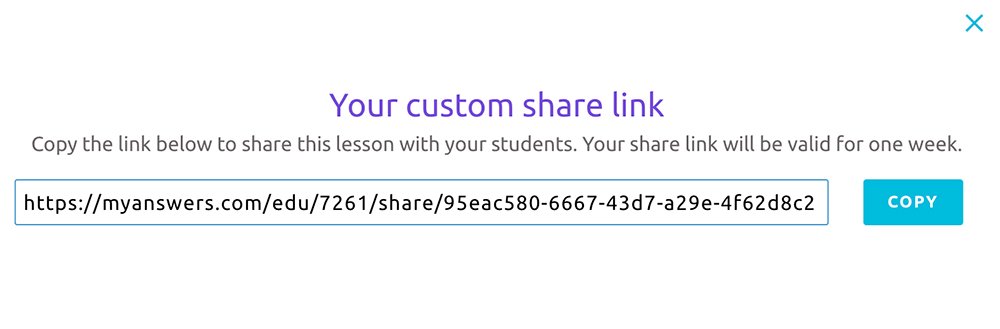
This new feature lets you share your lesson worksheets, videos, music, and all other resources with your students. Click “Share this Lesson” at the top of the page, and an options box will appear, allowing you to choose whether to share the entire lesson or just the resources. If you’re going to teach during the live video, we recommend just sharing the resources so your students can follow along easily. But if you wish to send the lesson to your students, that option is built in as well.
Just grab that sharing link and save it so you can send it to your students in the next step.
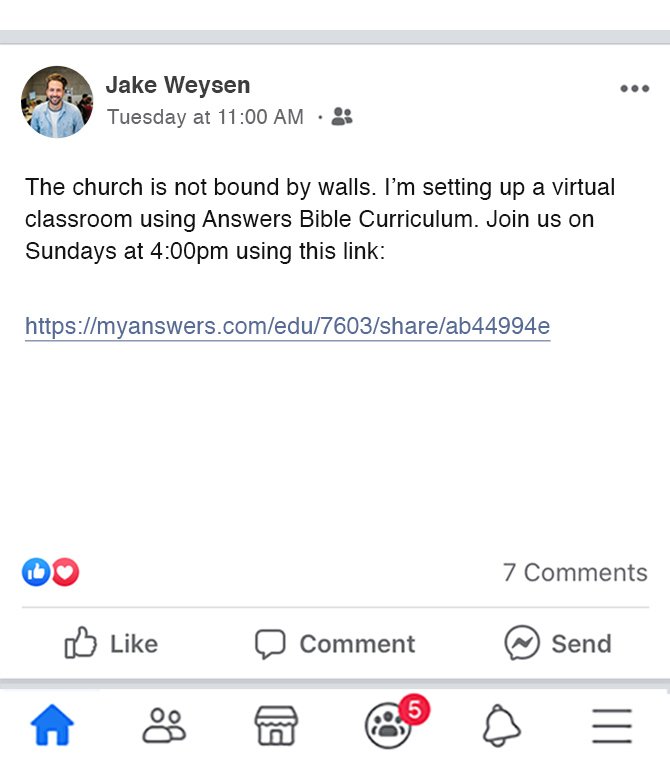
5. Announce your upcoming live stream
For this step, you’ll need a way to contact your students. You could share it on social media, your church website, via email, or even text message. The sharing link you have from the previous step will work on any internet-connected device, so feel free to use whatever communication channel is most convenient. Feel free to announce multiple times, and on multiple channels, so your students don’t forget.
Be sure to include the date and time you plan to teach and the sharing link to the lesson resources from MyAnswers.com.
6. Go live!
Tips for Virtual Classrooms
1. Be respectful of your students’ time
Your students may have other things going on at home, so you may want to keep your presentations tight and fast-paced to hold your students’ interest.
2. Get students to print resources ahead of time
If you want your students to do any of the activities on paper, strongly encourage them to print those sheets ahead of time. You don’t want the whole class to be waiting on someone’s slow printer.
3. Play videos on your computer or afterward
If your lesson has video resources, then you could point your phone at your computer and play them full screen. This may lead to unusual audio and video artifacts, so you could also encourage them to watch the video after the live stream and discuss with their family.
4. Play memory verse music afterward
Memory verse music (included with the younger age groups) is another great thing to encourage your students to use as a family activity after the live stream. Remember, learning will be even more effective when you can get the whole family involved.
Support the creation/gospel message by donating or getting involved!